
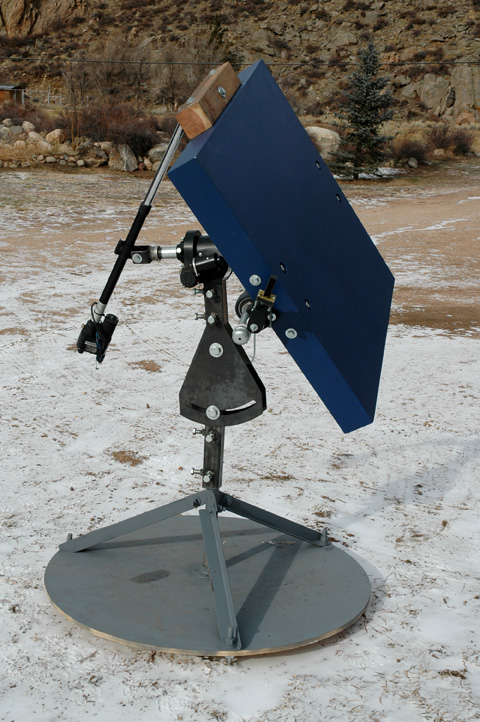
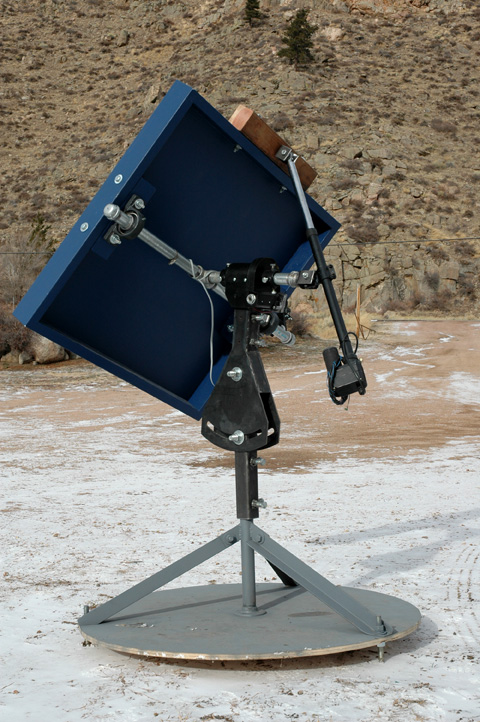
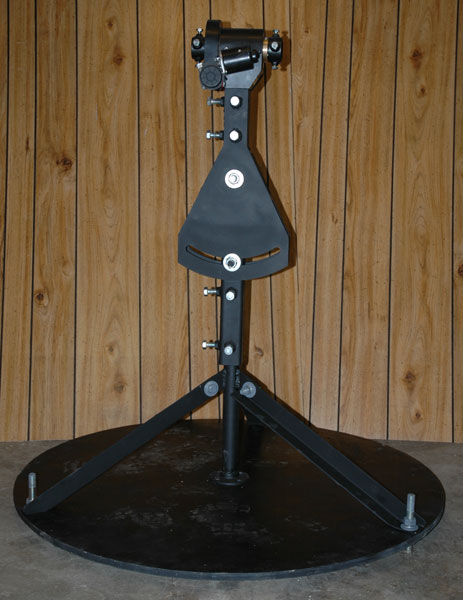
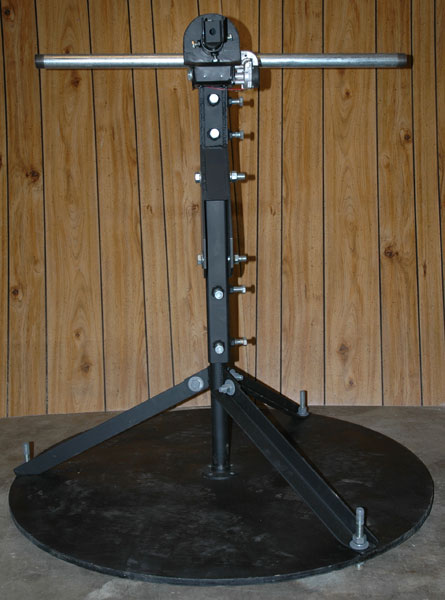
This is a 1 meter heliostat that we built on
comission. The mirror and control box have not yet been mounted and the stand,
top block, and aiming bell still need to be painted. Notice the large
table on the bottom of the stand for sandbags or other weights to keep it from
blowing away in the wind.
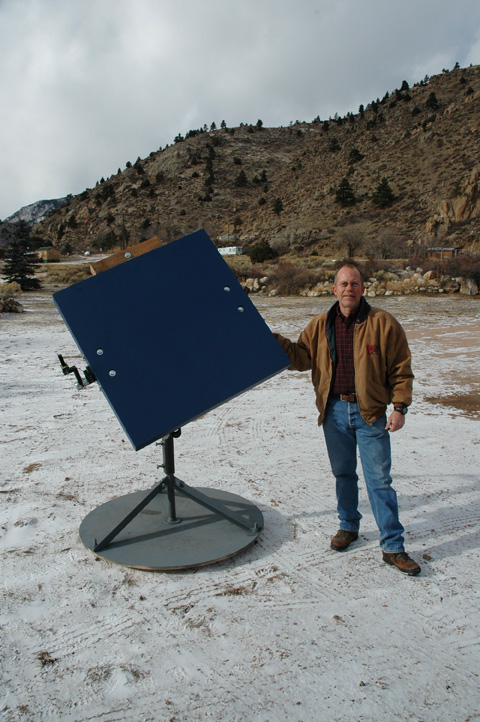
We have Dave standing by the heliostat in the last two pictures to show scale.
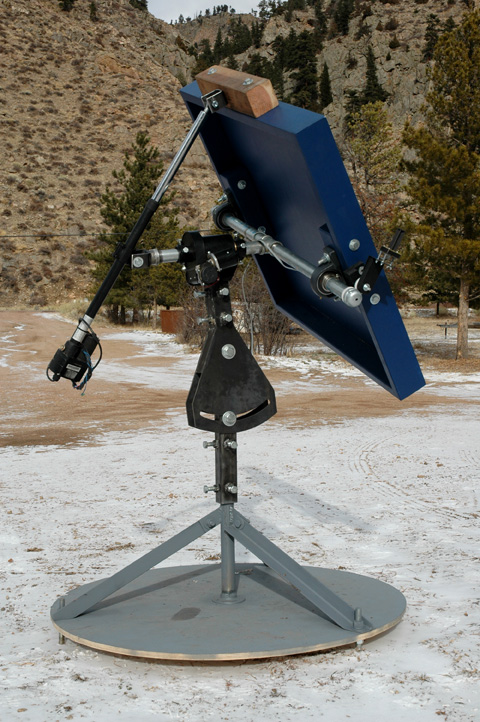
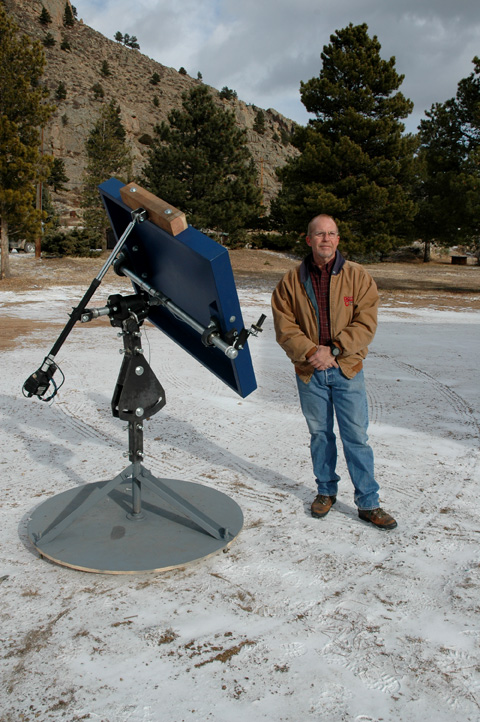
Below is a series of pictures of the parts we manufactured and assembly procedures of our one meter heliostat. This heliostat base and rotator is capable of holding a mirror plane of up to 16 square feet.
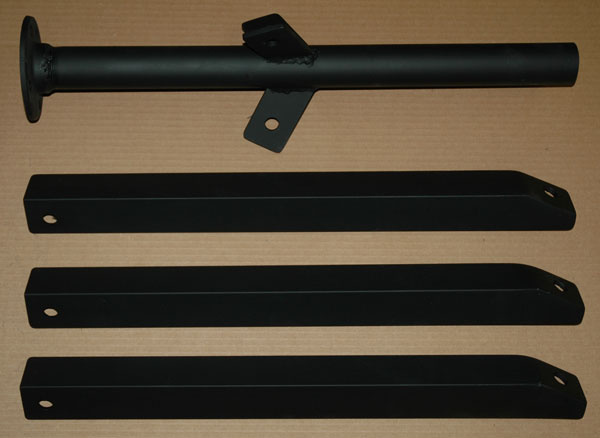 |
Main support parts for the stand. The top piece is the stand-pipe and the three lower pieces are the stand braces. |
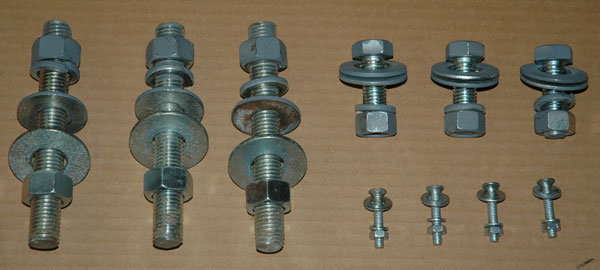 |
Hardware set for the stand assembly. |
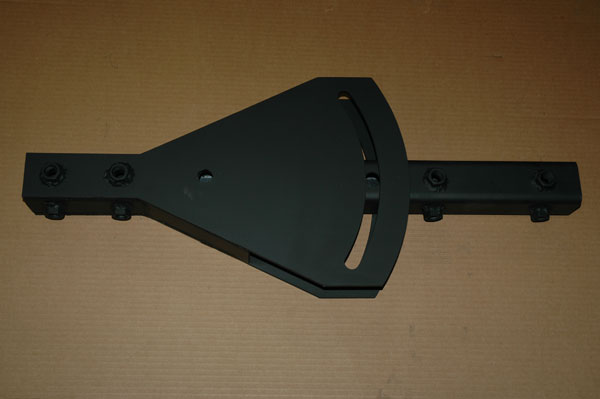 |
Aiming bell. This part is fabricated from 1/4" steel, 5/8" nuts and 2-1/4"x 1/4" square stock. |
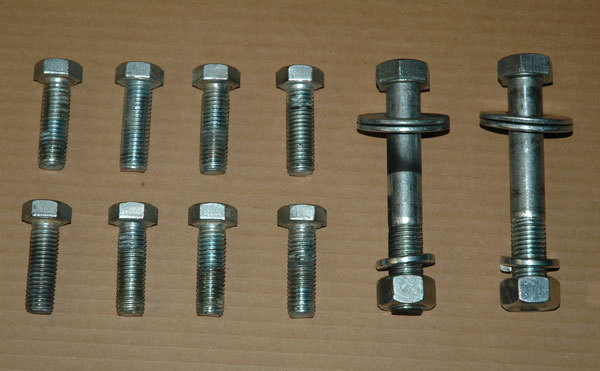 |
Aiming bell hardware set. |
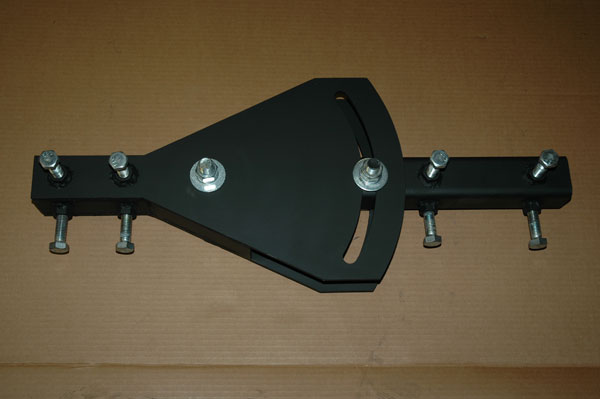 |
Aiming bell loaded with hardware. |
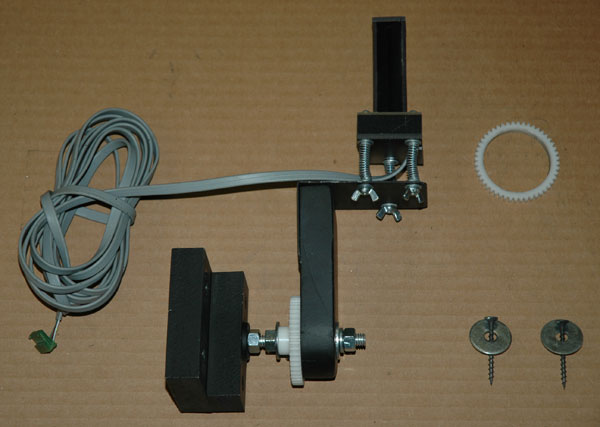 |
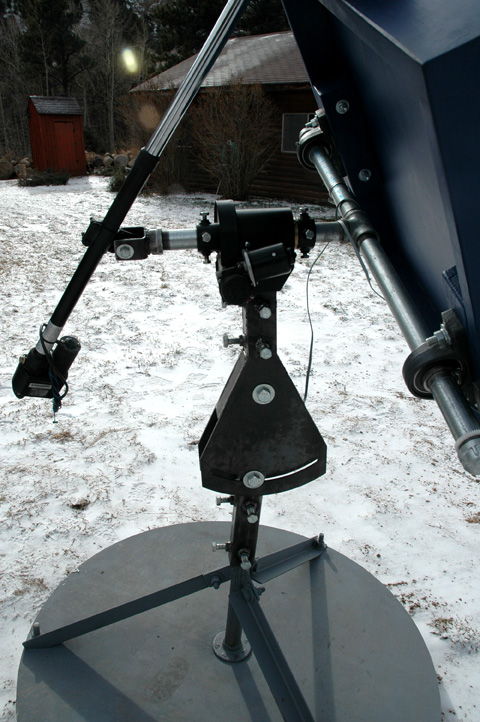
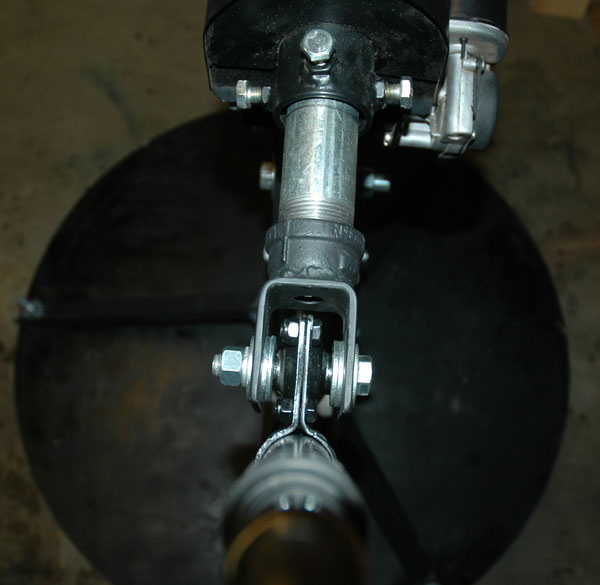
Bisector and dual-axis sun sensor assembly. |
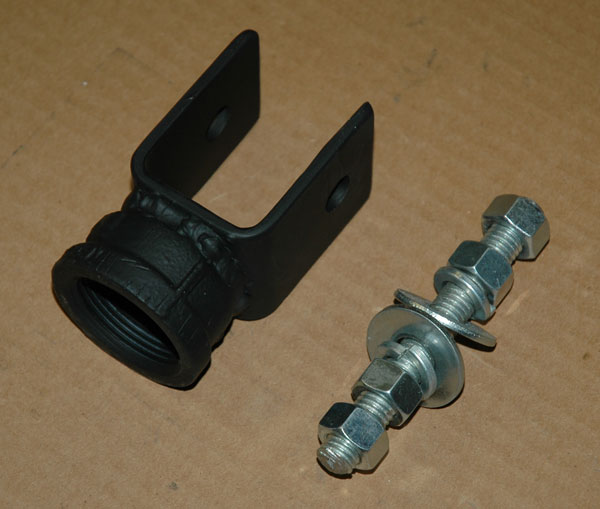 |
Target axis linear-actuator-bracket and hardware. |
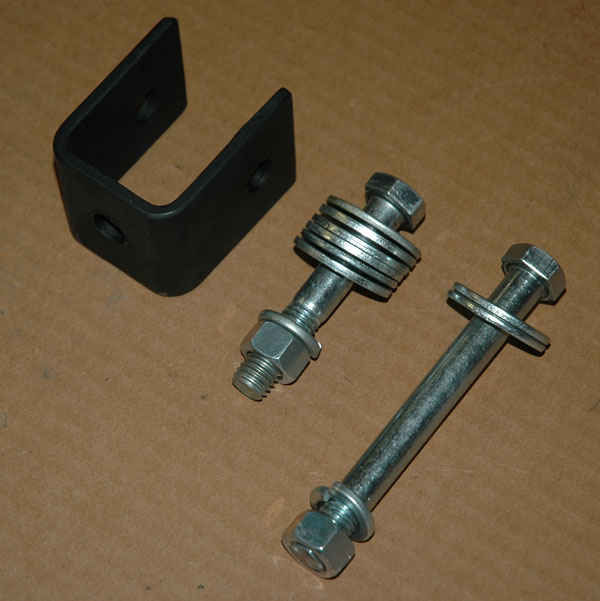 |
Mirror plane linear-actuator-mounting-bracket and hardware. |
 |
T-bar end caps and safety clamps. |
 |
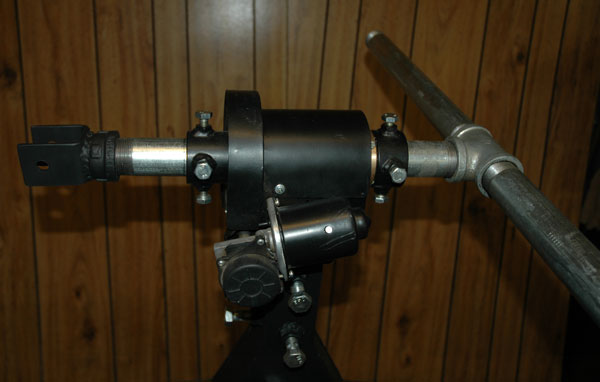
Alpha SPID EL rotator. This is the part that is responsible for making our 1 meter and 16 sq. ft. heliostats so expensive. This unit alone costs us about $700 US shipped to our door. We are trying to find a less expensive rotator but have not have much luck so far. Slow turning powerful rotators are just expensive. There are some horizon-to-horizon satellite dish actuators that can be retrofit but they are not nearly as elegant as this rotator. We keep looking though, Sooner or later we will find a more economic solution. |
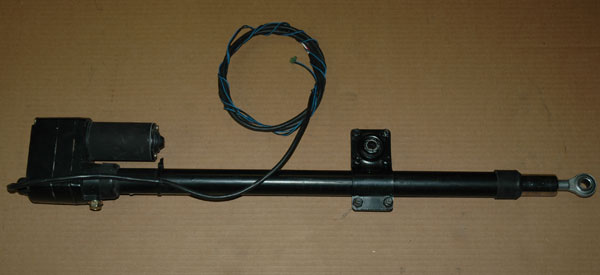 |
18" linear actuator. |
 |
Stand base and lower stand-brace hardware. |
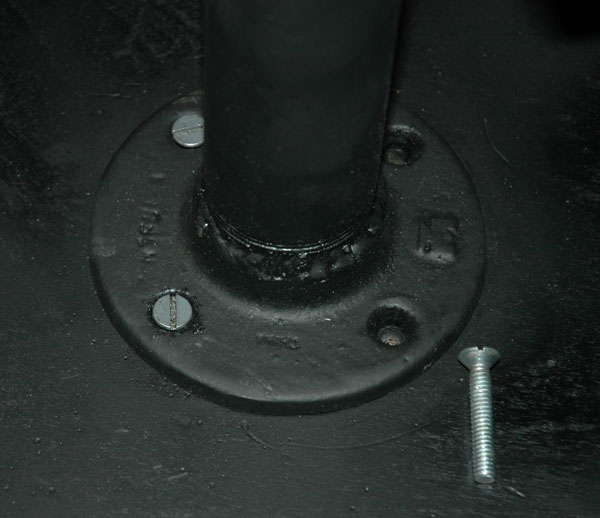 |
Stand-pipe floor flange mounting. |
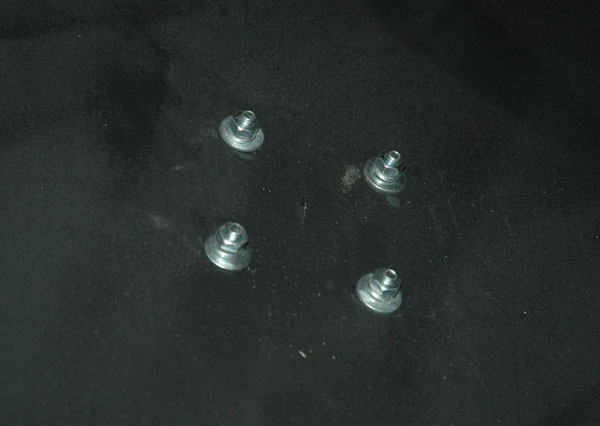 |
Stand-pipe mounting hardware underside. |
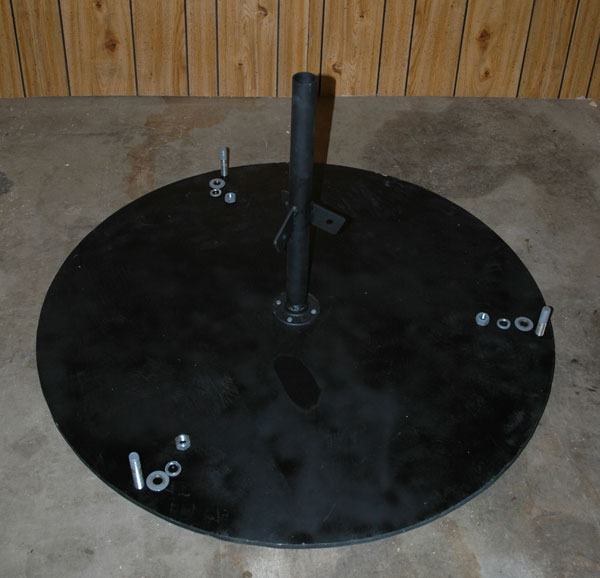 |
Stand-pipe attached to base and hardware ready for angle braces. |
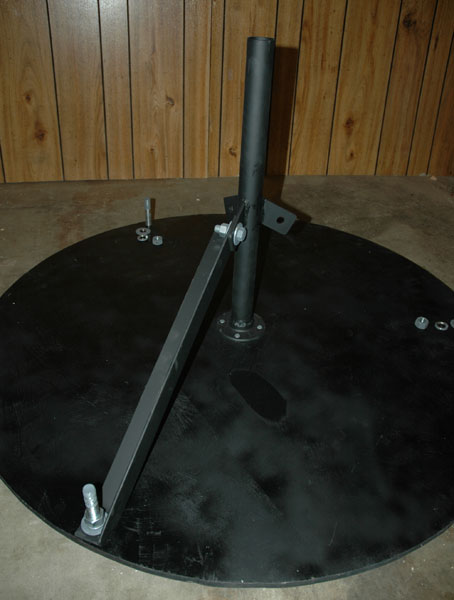 |
Stand-pipe with one brace attached. |
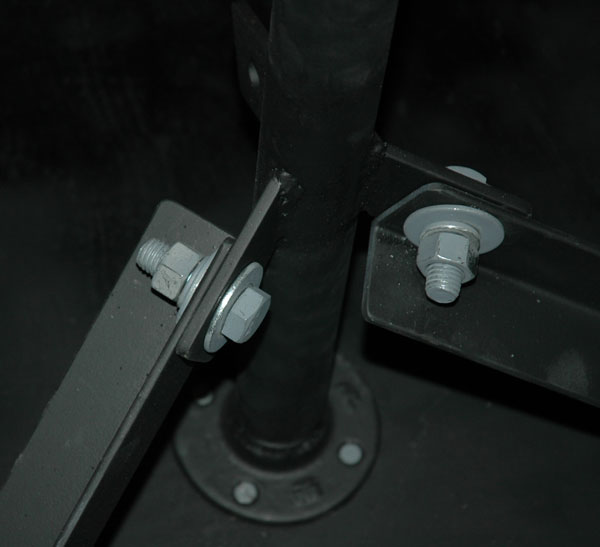 |
Close-up of upper angle brace attachment. |
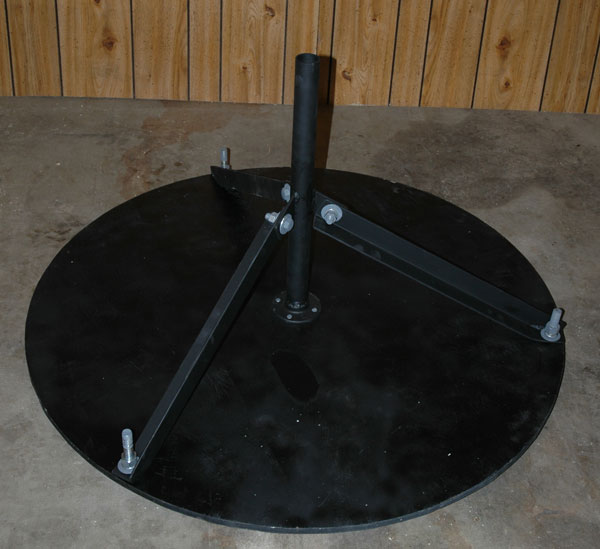 |
Stand fully assembled and ready for aiming bell. |
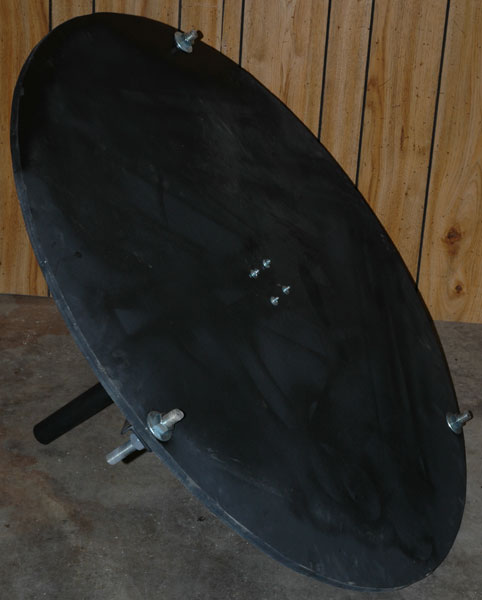 |
Bottom view of fully assembled heliostat stand. |
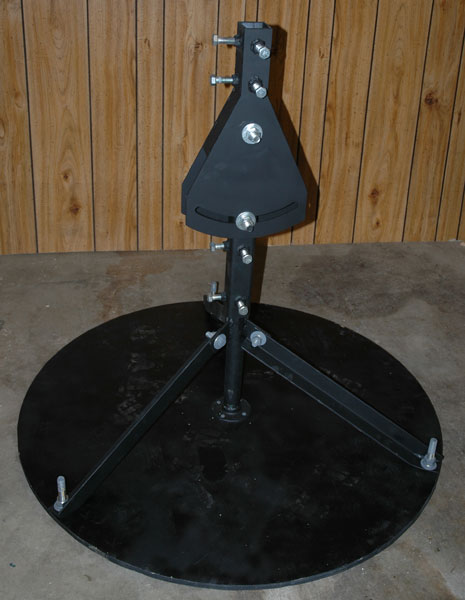 |
Stand with aiming bell attached. |
 |
Stand with aiming bell and target axis rotator. |
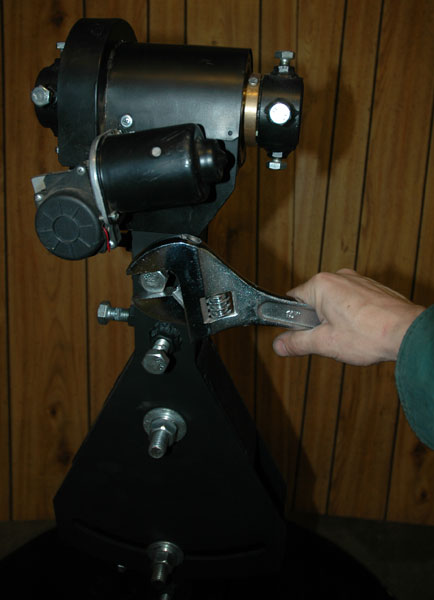 |
Locking down the rotator. |
 |
T-bar. This is the part that supports the mirror plane. |
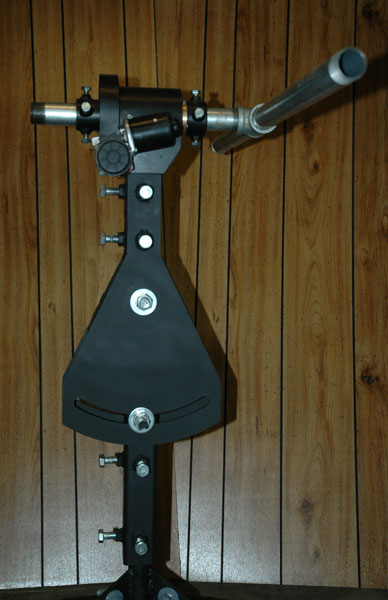 |
T-bar mounted through target axis rotator. |
 |
Side view of T-bar with target axis linear actuator bracket mounted. |
 |
Back view of T-bar with target axis linear actuator bracket mounted. |
 |
Target axis linear actuator hardware mounting from above. |
 |
Side view with linear actuator mounted. The next step is to mount the mirror plane. |
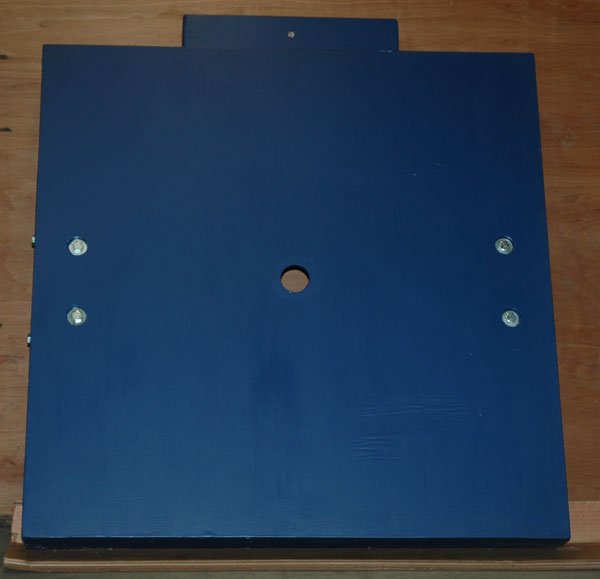 |
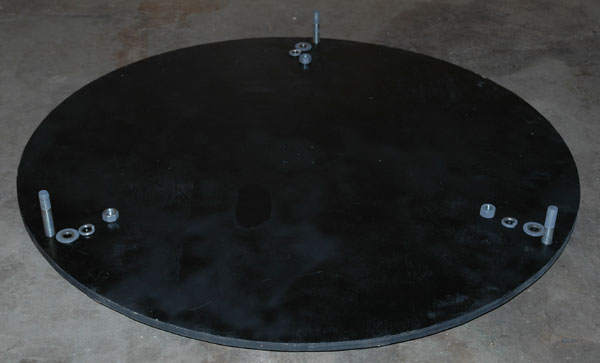
Front view of mirror plane. |
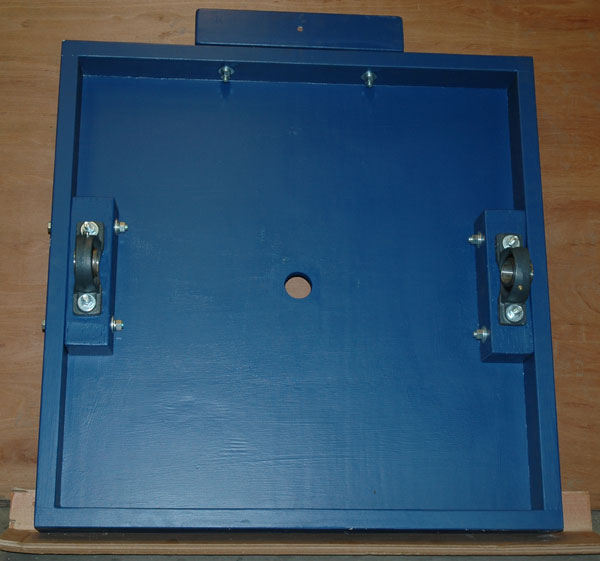 |
Back view of mirror plane. |
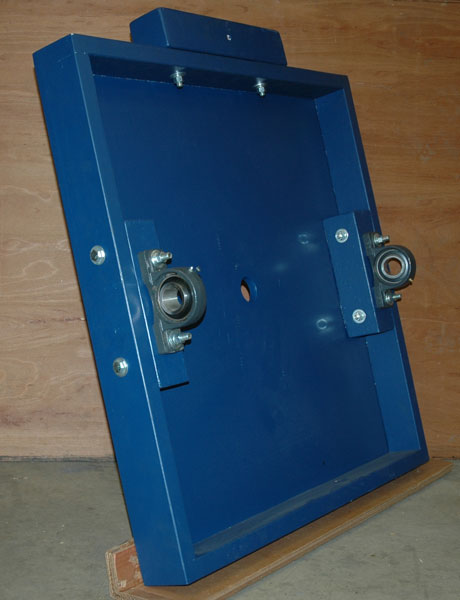 |
Side view of mirror plane. The pillow block bearings are 1-11/16" |
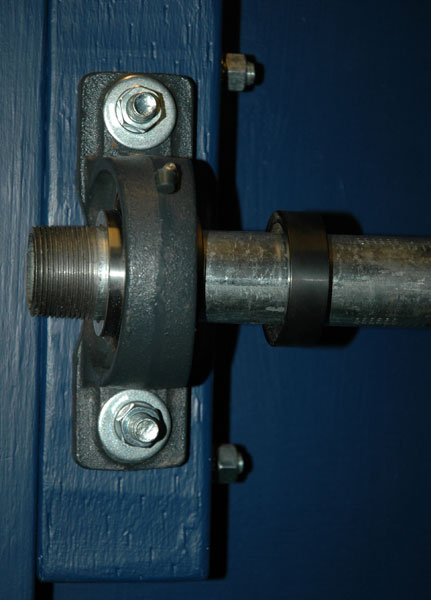 |
This is the 1-1/4" ID galvanized pipe t-bar passing through the mirror plane pillow block bearing. At this point we have a break in the series of photos...we will get them uploaded as soon as possible. The next pictures will be... |
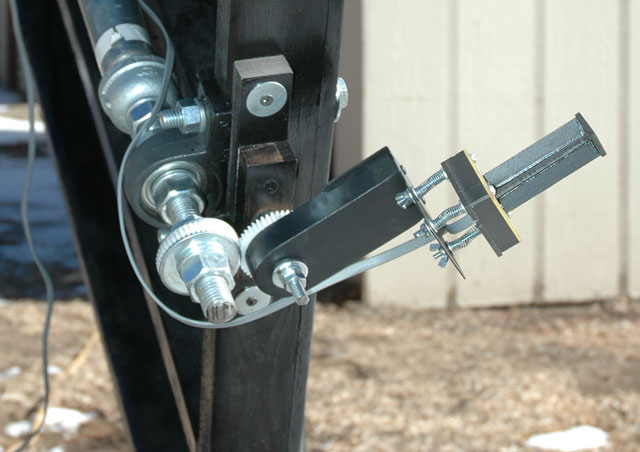 |
Dual axis sensor mounted to bisector. This is actually the X9 heliostat mirror plane and T-bar but the mechanical theory is the same for all of our receiver axis heliostats. |
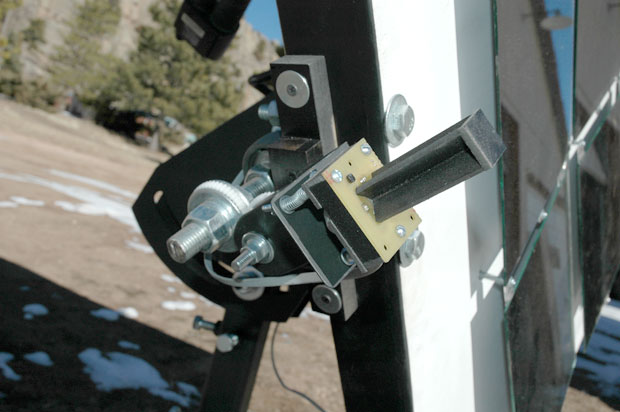 |
Dual axis sun sensor. This sensor still needs to be coated with weatherproof epoxy. |